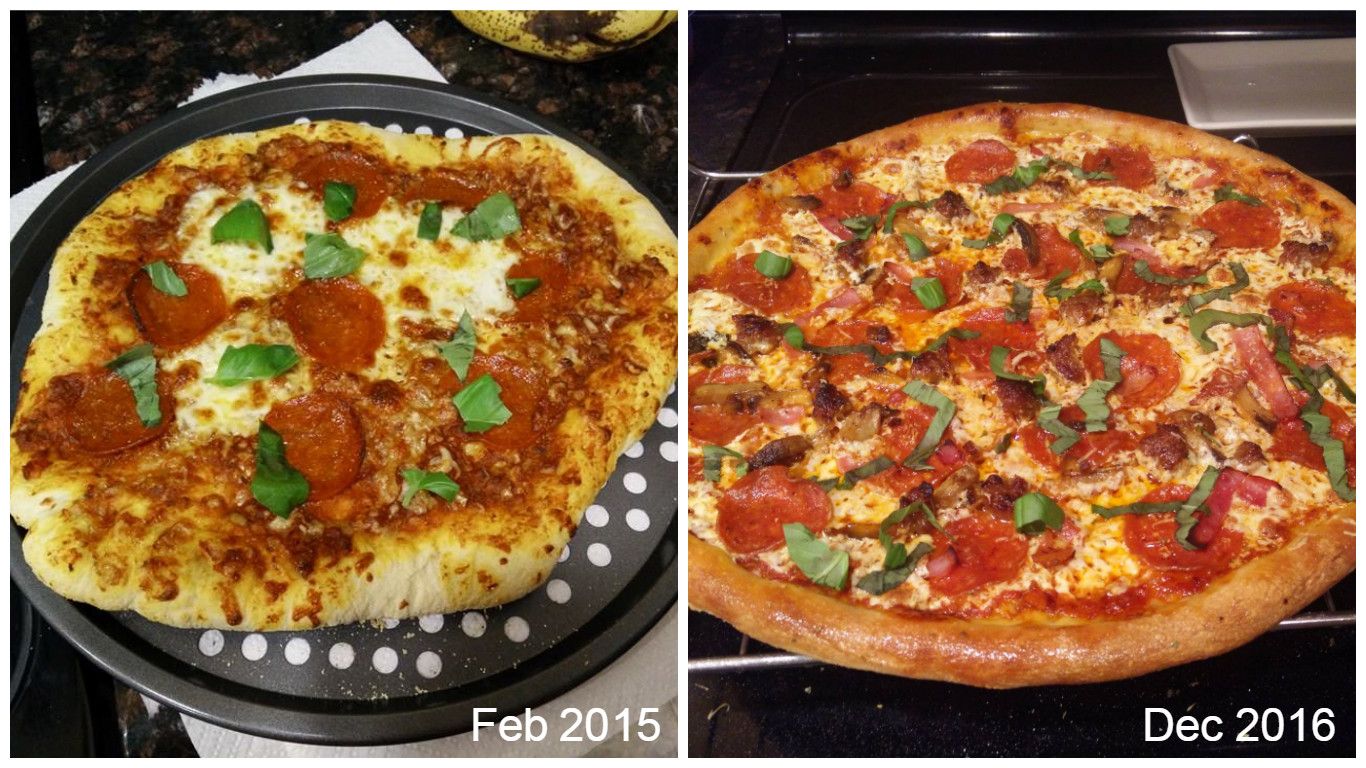
I've been making pizzas as a hobby since about 2015. When I first started, I had no idea what I was doing and made many mistakes...
My first attempt was pretty terrible, the dough didn't have a good flavor and had a very strange texture. I didn't even know how to stretch the dough properly, so it came out funky and weirdly shaped. Needless to say, I was pretty frustrated with how it came out. I almost gave up but was inspired to keep on trying every time I ate a delicious pizza from my favorite local pizzerias.
After my first few attempts, I spent a long time researching various dough recipes, reading tons of forum posts, blog articles, and experimenting with different ingredients. I wanted to learn as much as I could about pizza, and how to make it really well.
Many pizzas later, I have learned many things regarding pizza, how it's made, and how to make them really great. I've also been able to develop a dough recipe which I feel works really well in a home oven environment.
I absolutely love pizza and want to pass on the knowledge I learned during my journey to others. My hope is that others will also pursue making pizza on their own at home, and find the same enjoyment I get from it.
Baking Stones & Steels
One of the very first things I learned about during my research was regarding baking stones and steels. The purpose of these stones and steels are to help simulate a brick oven and help give you that signature light crisp that pizza crust is known for. It's a thick slab of either ceramic, stone, salt or steel which you place in your oven, bring up to temperature and cook your pizza on. Without one, you will find it pretty difficult to get that signature pizza texture. This is due to the fact that the baking stones/steels are able to reach a temperature higher than that of your oven, and help draw moisture out of the dough, resulting in that crisping effect.
I looked around for a decent baking stone and decided to go for Pizzacraft's 15" Square Baking Stone. During my research, I found there were many forum posts talking about how you could just go to a hardware store and get food safe ceramic slabs, but I ended up opting for Pizzacraft's stone instead.
Upon getting the stone I was very pleased with the immediate results I began seeing in my pizzas. The crust had developed a much better crispness to it and cooked more evenly as well. It made a massive improvement to my pizzas that I was happy with and continued to be happy with for over a year.
Eventually, I had begun to hear great things about baking steels. While similar to stones, they had some advantages over them. Such as being able to come up to temperature much faster, having a more stable temperature and being able to transfer heat to the pizza at a far superior rate.
I once again started looking around for suggestions, but this time for a baking steel. Again, there were many posts talking about how you could just get food safe slabs of steel from a hardware store. However, due to the fact that I got fantastic results with my stone, I ended up going for Pizzacraft's Baking Steel. I've had a few people tell me that Pizzacraft's steel isn't thick enough and as a result loses heat faster, but honestly, I've gotten some pretty good results with it for now.
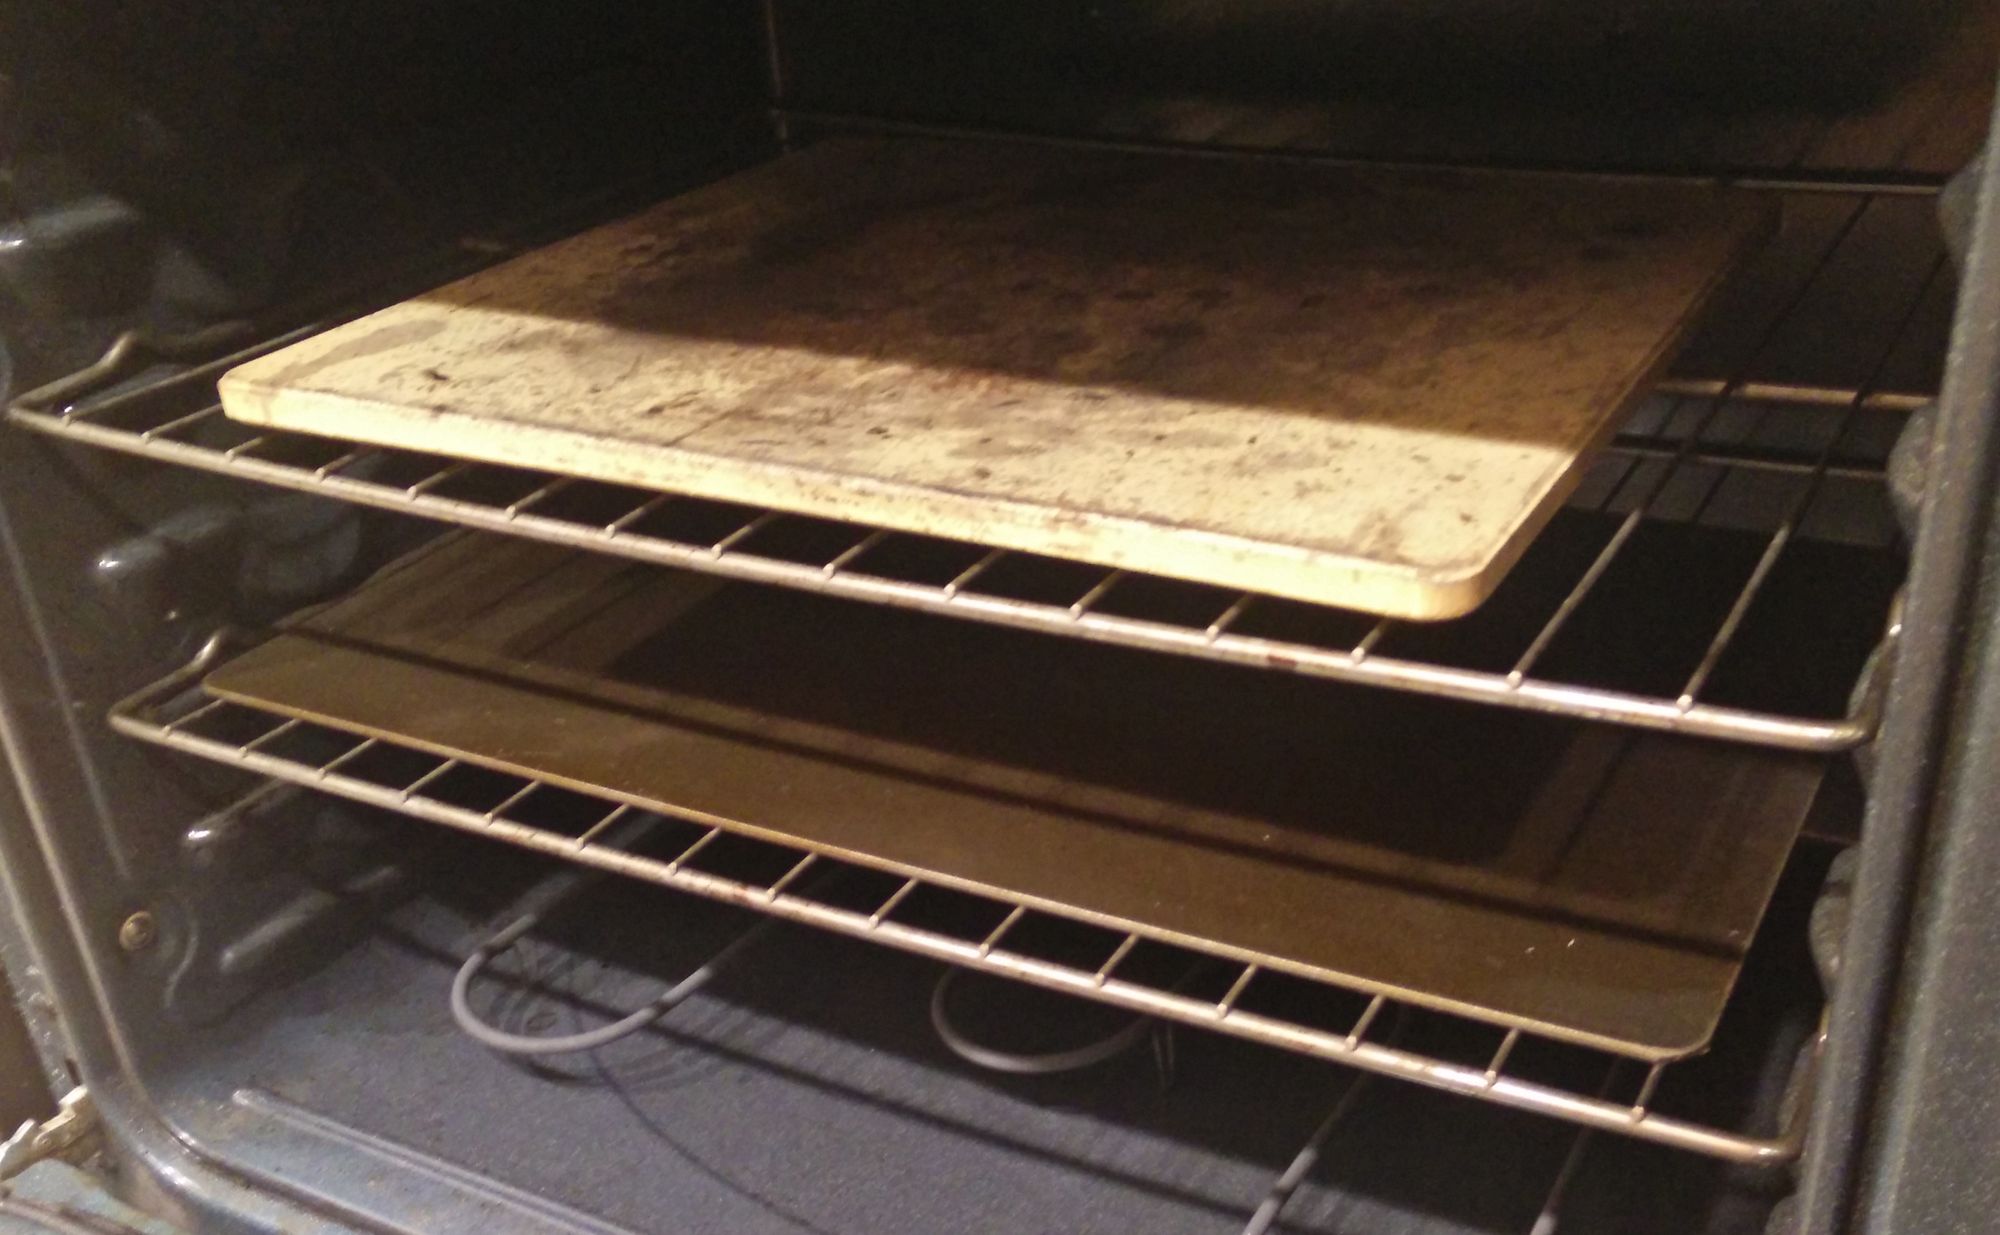
Even though I got a baking steel, I actually still use the original baking stone I purchased before. I didn't want to just get rid of the stone as it was still in good condition. So I decided to place it above my baking steel in the oven during my cooks. This allows the stone to radiate heat downward onto the top of the pizza, allowing the toppings to cook faster and emulate a more traditional pizza oven. This also allows me to transfer the pizza from the steel onto the stone above during the last stage of the cook to get a really nice crisp on the bottom.
One of the key things to remember regarding stones and steels is that you must preheat your oven to the highest setting for at least an hour before you stick your pizza in. Even if your oven beeps and says it reached the temperature, let it keep going. You want your stone/steel to have enough time to also come up to temperature, as well as make sure your oven is evenly heated.
Oven Rack Position
For where you should place the baking stone or steel in your oven. It really all depends on your oven, so you may have to experiment with some different positions. I've found that having my steel on the second to the top rack, with the stone on the first rack has given me really great results.
For more information and science regarding rack position for your baking stone/steel, I'd highly recommend checking out this amazing article by James Kenji López-Alt on Serious Eats.
Stone/Steel Maintenance
Regarding the maintenance of your stones and steels, there are a few things you'll want to do and be careful of. For stones, be sure to get a stainless steel bristle brush. This will help you remove those tough baked-on remnants of foodstuffs. For steels, you'll wanna use a scrubbing brick or stiff nylon brush. Using soaps or harsh detergents/cleaners is absolutely not recommended as due to the stone being porous, it'll actually absorb those chemicals.
You can use water to help clean off your stone/steel, but be sure to follow a few guidelines:
-
Never let a hot stone/steel come in contact with water; always let them cool down first. If you don't, you can cause your stone to fracture or your steel to warp.
-
Always towel dry your stone/steel immediately after using water on them. If you don't towel dry your steel, you can develop a layer of rust very quickly.
-
With a baking stone, you'll want to be sure to not only towel dry it but also let it air dry as well. Due to the stone being porous it'll absorb some of the water which can cause fracturing if you don't let it dry out first.
After some time of using a baking stone or steel, you'll notice that it will begin to develop some staining like the photo above. These stains are pretty much impossible to remove, so think of them more like a patina that adds more character to your baking stone or steel.
After using a baking steel for some time, if food begins to stick to it, or if it becomes a dull gray color, you're going to want to re-season it. Much like cast iron, you need to season the steel with a thin layer of oil to protect it from the elements and prevent sticking. To do this, simply apply a small amount of flaxseed oil to the center of the steel. Then, with a paper towel, wipe the oil around the steel evenly, using another towel to remove the excess. Do this for both sides of the steel before placing it in the oven at 400˚F for an hour.
Proper maintenance of your baking stones and steels is extremely important. Take care of them properly and they'll continue to give you amazing results over and over again.
Flour
When I first started out making pizzas, I just used any store brand all-purpose flour I could find. The results I got from that dough were okay, but nothing special really. I found the crust to be pretty dense and nothing like the pizzas I was eating at some of my favorite pizza places. I really wanted to get to that level that I expected from a pizza now.
I started to learn about things about flour like protein content, water absorption, cold fermentation and the grind of the flour. There was so much debate around this area of pizza making. It was honestly probably one of the most interesting parts of researching pizza making. Everyone seems to have their own opinion on this matter. From which type of flour you should use, to how high your hydration percentage should be, even down to how long you should let it ferment for. You could probably spend an entire weekend researching about pizza doughs and still not scratch the surface over the debates.
Retardation / Cold Fermentation
During those early days of making pizzas, I had a few problems with my pizza dough. The flavor wasn't too great, and it kept contracting into itself not wanting to stretch properly. It would also be very hard to stretch without tearing a hole in some place. It was extremely frustrating and my least favorite part about making pizza, so I started looking up how to prevent this.
This is how I learned about retardation, or cold fermentation, which is the act of placing your dough in a cold environment in order to slow down the activity of the yeast. In this kind of environment, the yeast will produce carbon dioxide more slowly and behave differently. It'll produce more desirable flavor compounds and fewer sour ones, resulting in a much tastier pizza crust.
Along with this, the texture of the dough will be way better, due to the longer fermentation giving the enzymes in the flour more time to split their proteins in a process called autolysis. This allows the proteins to straighten out and link up into gluten, resulting in a more flexible yet stronger dough.
After playing around with different amounts of time in the fridge, I found that I got the best results at around 48 to 72 hours. I felt this was a good amount of time for the enzymes to do their thing.
After letting the dough cold ferment for some time and when you're ready to cook your pizza, be sure to remove the dough from the fridge beforehand and let it come up to room temperature first. You don't want to work with cold pizza dough, as it'll be harder to stretch and cause uneven cooking. So make sure it has come up to temperature first, as it'll make your life way less stressful.
Protein Content
One of the key things I learned is that when attempting to make a good New York-Style pizza specifically, it's a good idea to use a flour that has a higher protein content. This is what helps give the pizza that chewy bite and ability to fold. Along with that, the higher level of protein will also help produce a higher level of gluten, resulting in more stretch from your dough.
A small list of protein percentages between different flours:
* Antimo Caputo 00 Chef's Flour - 12.5%
* King Arthur All-Purpose Flour - 11.7%
* King Arthur Bread Flour - 12.7%
* Pendleton Power Flour - 13.5%
* Stater Bros All-Purpose Flour - 9.7%
Hydration
The next thing I learned about was hydration, which refers to the amount of water relative to the amount of flour in the dough. For example, if you have 100 grams of flour and add 60 grams of water to it, you get a dough that's 60% hydration. This hydration level plays a major role in the crust and in the pizza dough as a whole. Too little hydration and your crust will turn out very dense and difficult to chew, while too much will result in a very sticky dough that's more difficult to shape and even more difficult to get into the oven.
Finding that balance between flour and water is the key to creating a great pizza crust. You want your dough to be soft enough to shape, but you don't want it so soft that it's not maintaining that shape.
What's more interesting is that each type of flour also as their own absorption rate, which directly affects that hydration level. While Italian 00 flour might only require 60% - 65% hydration to become soft enough to shape, American all-purpose flour might take 75% hydration to reach the same level.
Experimenting with Dough
While experimenting with your dough creation, it's a good idea to constantly keep track of your measurements. This way you can find out at what hydration percentage your flour starts to become pliable. Once you figure out that base percentage you can begin increasing it slowly to the level you want that gives you the best results for that airy crust.
Like I stated previously when I had started out I was using that 9.7% protein content all-purpose flour from Stater Bros. It was pretty terrible honestly, the low protein content resulted in a terrible gluten network which caused issues during stretching, such as easily tearing the dough.
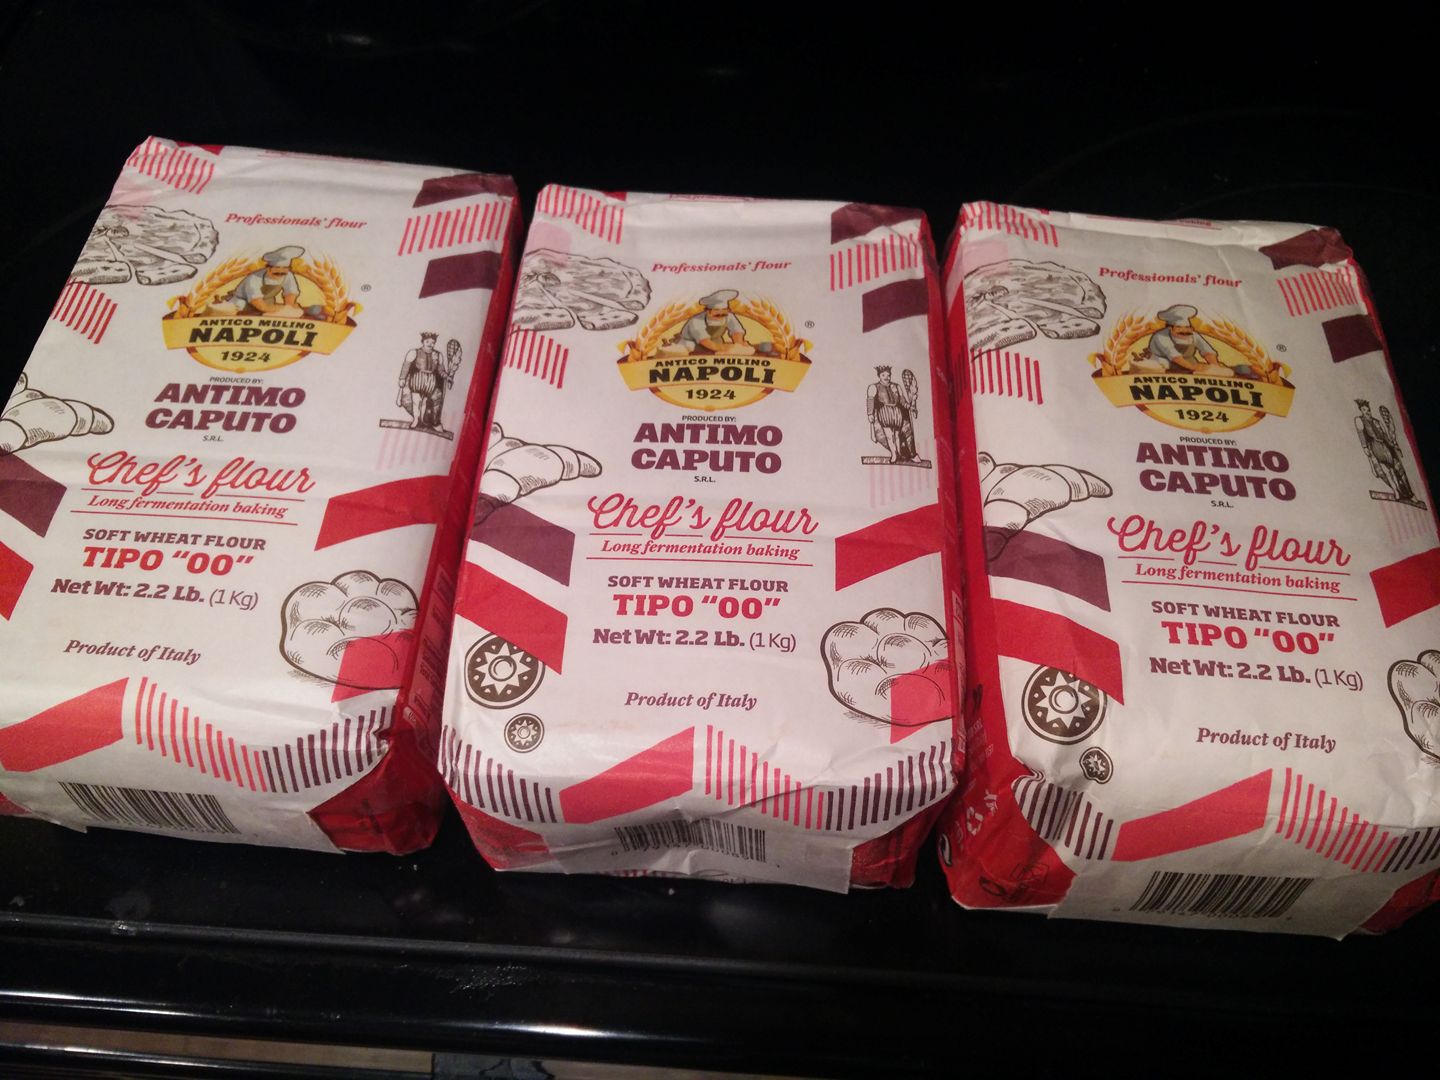
Eventually, I switched over to King Arthur Bread Flour, which helped solve my dense and hard to chew crusts, but I found it pretty difficult to shape the dough still. With this bread flour, I found that the dough would contract back into itself during shaping which was extremely frustrating. After much research, I had come to learn about Antimo Caputo 00 Chef's Flour. This flour had a high protein content like the King Arthur bread flour, but with a low water absorption rate.
With this new flour, I found it very easy to stretch and shape the dough which freed up a lot of stress I had during pizza making. I also found that it gave really amazing results to the crispiness of the crust outside, as well as the airy structure inside. It was a whole world of difference to me and immediately made my pizza making more enjoyable.

NY-Style Pizza Dough Recipe
I spent about a year tweaking my dough recipe over and over again. The goal that I wanted was an NY-Style pizza crust that had great flavor, was able to be folded when eaten, browned well in a home oven and was easy to work with when shaping the dough.
After some time, and some helpful feedback from the pizza making communities online, I was able to create a dough recipe that I felt worked really well. It met all my requirements that I was looking for in my pizzas.
The following is my NY-Style Pizza Dough recipe which will produce a dough ball big enough for an 18" pizza. This recipe is also written in baker's percentages so that it can be easily scaled up or down.
* 100% - 400g of High protein flour
* 60% - 240g of Water
* 0.35% - 1.4g of Instant dry yeast
* 1.5% - 6g of Salt
* 1.5% - 6g of Diastatic malt
* 7.5% - 30g of Honey
* 2% - 8g of Olive oil
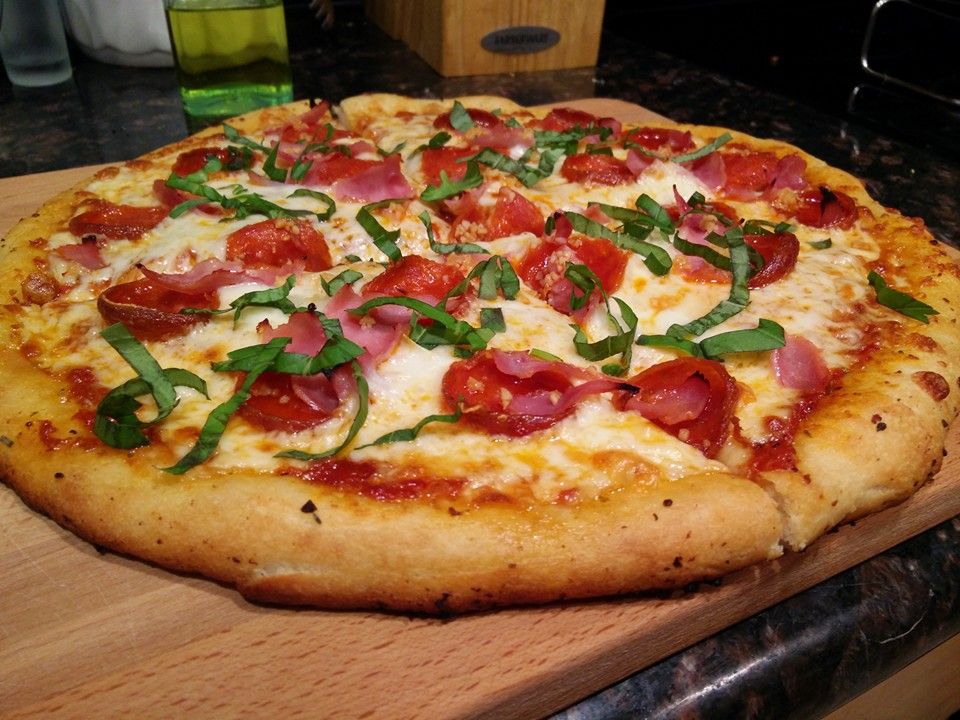
The most common response I get to photos of my pizzas is: "How did you get your crust such a lovely brown color?". The secret to that is the honey and diastatic malt present in the recipe.
When I mention this, many people seem to find it weird that I put honey in a pizza dough recipe. Typically they say that it makes the crust too sweet for them. I've never really noticed any overpowering sweetness to my crusts honestly. I feel the honey adds the perfect amount of flavor to the crust and helps add balance to the overall pizza as a whole. Of course, everyone has their own personal preference, and there's no reason you can't scale down the amount of honey in the recipe.
Some of the other reasons why I decided to use honey in my recipe:
- It helped give the crust a nice golden color.
- It provided a really nice subtle flavor to the crust.
- It's naturally occurring acids help enhance the flavors in the toppings.
- It helps with the moisture in the dough, resulting in a much more tender crust.
- Nature sugars rather than using refined or processed sugars.
The diastatic malt in my recipe is the most recent addition to it. I learned about it after reading Tony Gemignani's Pizza Bible. The malt helps when cooking pizza in a conventional home oven, which can't reach the temperatures typical of a wood-burning or pizza oven. It helps with the browning process of the crust and gives it a slight nutty-caramel flavor. Another advantage of using the diastatic malt is that the active enzymes within it help break down the starches in the flour, turning them into sugar for the yeast which further helps the fermentation process.
I've made many pizzas with my recipe at this point, and every time it has given me consistent results that I am proud of. Shaping the pizza dough is also no longer the most frustrating, and unenjoyable, part of the process for me. In fact, it's now the most fun part, well.. next to eating the pizza that is.
Dough Ball
After making your pizza dough, shaping it into a dough ball will help later down the road when you go to shape your dough into a circle for your pizza. Making a dough ball is really simple and pretty fun to do.
First, flour both of your hands then pick up your dough. Next, what you want to do is make a motion where you are using the palms of your hands to stretch the dough in opposite directions while you fold the dough into itself from the bottom. Then you can kind of pinch off the bottom or roll it on a flat surface a bit.
Another good technique is to place your dough on a flat lightly floured surface. Then place one hand either side of the dough, with your other hand on the side away from your body. Use one hand to rotate the dough, while with the other hand makes a downward cupping motion toward the bottom of the dough. Keep doing this until you form a nice even ball.
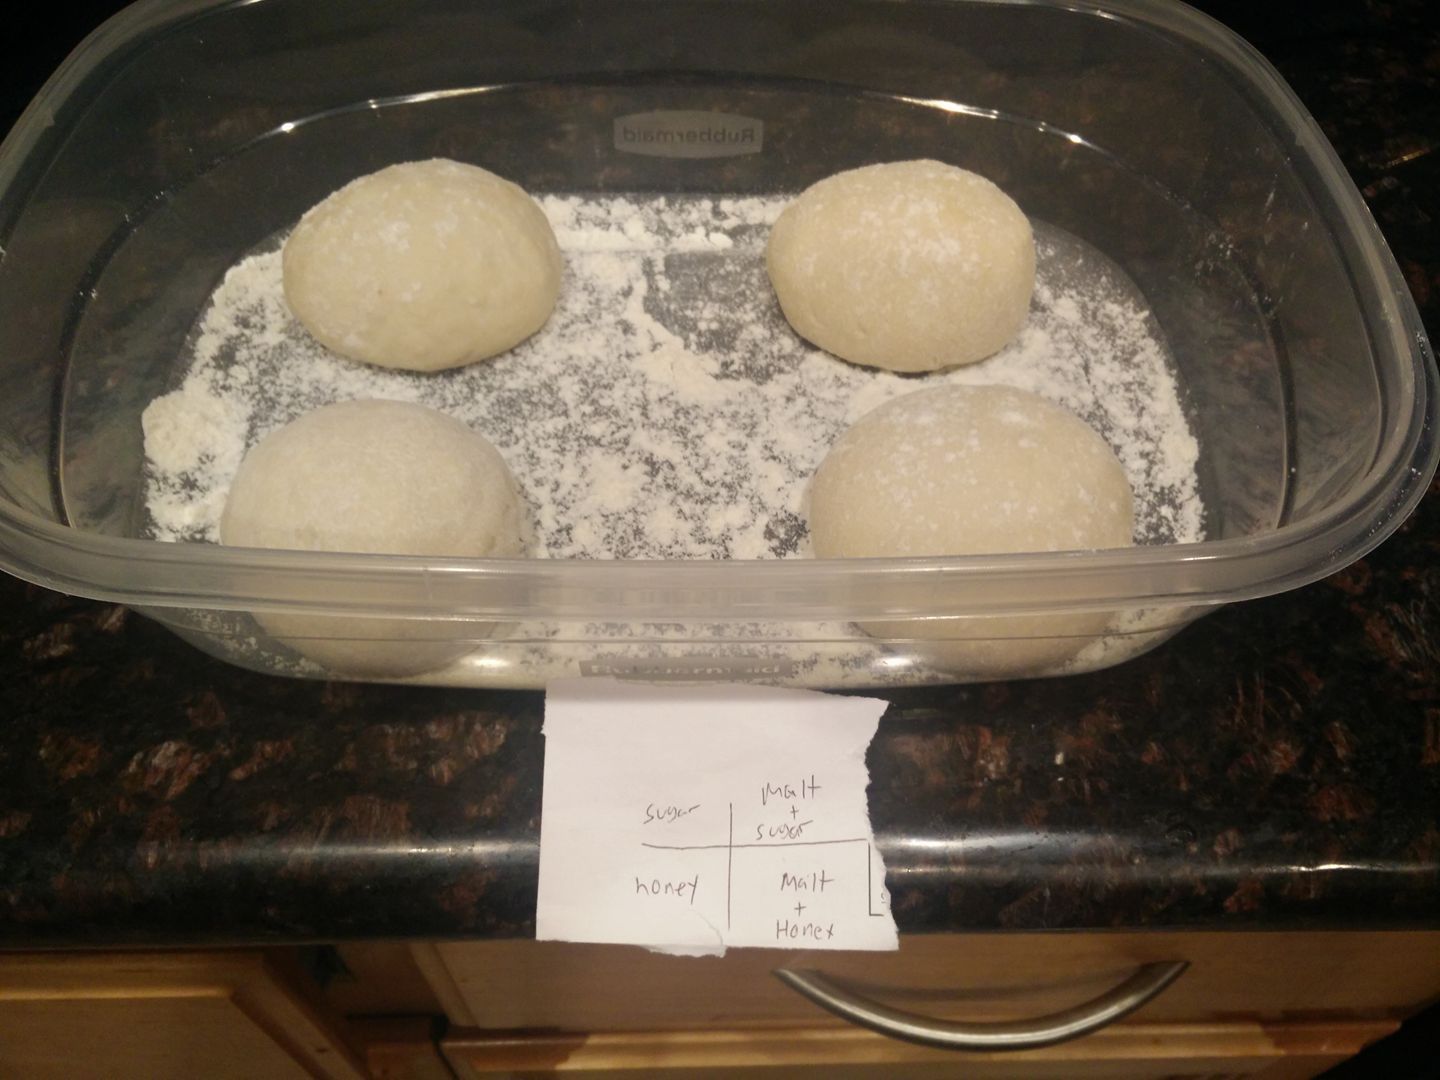
After creating your dough ball, place it in a very lightly oiled or floured container, and then place it in your fridge for cold fermentation. Be sure that your container is covered and somewhat airtight to prevent the top of your dough ball from drying out. You can also very lightly coat your dough ball with olive oil to prevent this as well.
Be sure that your container is at least double the size of your dough ball, as it will expand slightly during the cold fermentation.
Shaping the Dough
Once your pizza dough has cold fermented for up to three days and has come up to room temperature, you are now ready to shape that dough ball into a circle and get it ready for toppings and the oven.
I honestly had a pretty hard time shaping the dough into a circle when I first started making pizzas. It would always tear somewhere, or be too thin in some areas while thick in others, and the crust would be unpronounced or nonexistent. Because of this, I developed a "cheat method" of shaping the dough, which was a good way to get a feel for the dough over time and eventually progress to a better method.
Cheat Method
If you have a hard time shaping pizza dough, I would recommend trying out this method to at least start getting a feel for the dough during shaping. With this cheat method, what I would do is drizzle and spread out some oil onto parchment paper (not wax paper, do not get them mixed up, wax paper will melt in your oven). After that, I would place the dough ball onto the paper and slowly stretch it out with both my hands while rotating the paper.
After the dough had been stretched out into a circle, I would top it with my sauce, cheese, and toppings. Then the entire thing, parchment paper included, would be placed on the baking stone inside the oven.
Once I saw that the crust had already slightly cooked, I would pull the parchment paper out from under the pizza and let it cook directly on the stone for a bit before pulling the pizza out with a peel.
This method resulted in a crust that was pretty thin at times due to the flattening/stretching method on the paper. It wasn't exactly what I was looking for, but it did help for me to get a feel for the dough while still producing an aesthetically pleasing looking pizza that still tasted delicious.
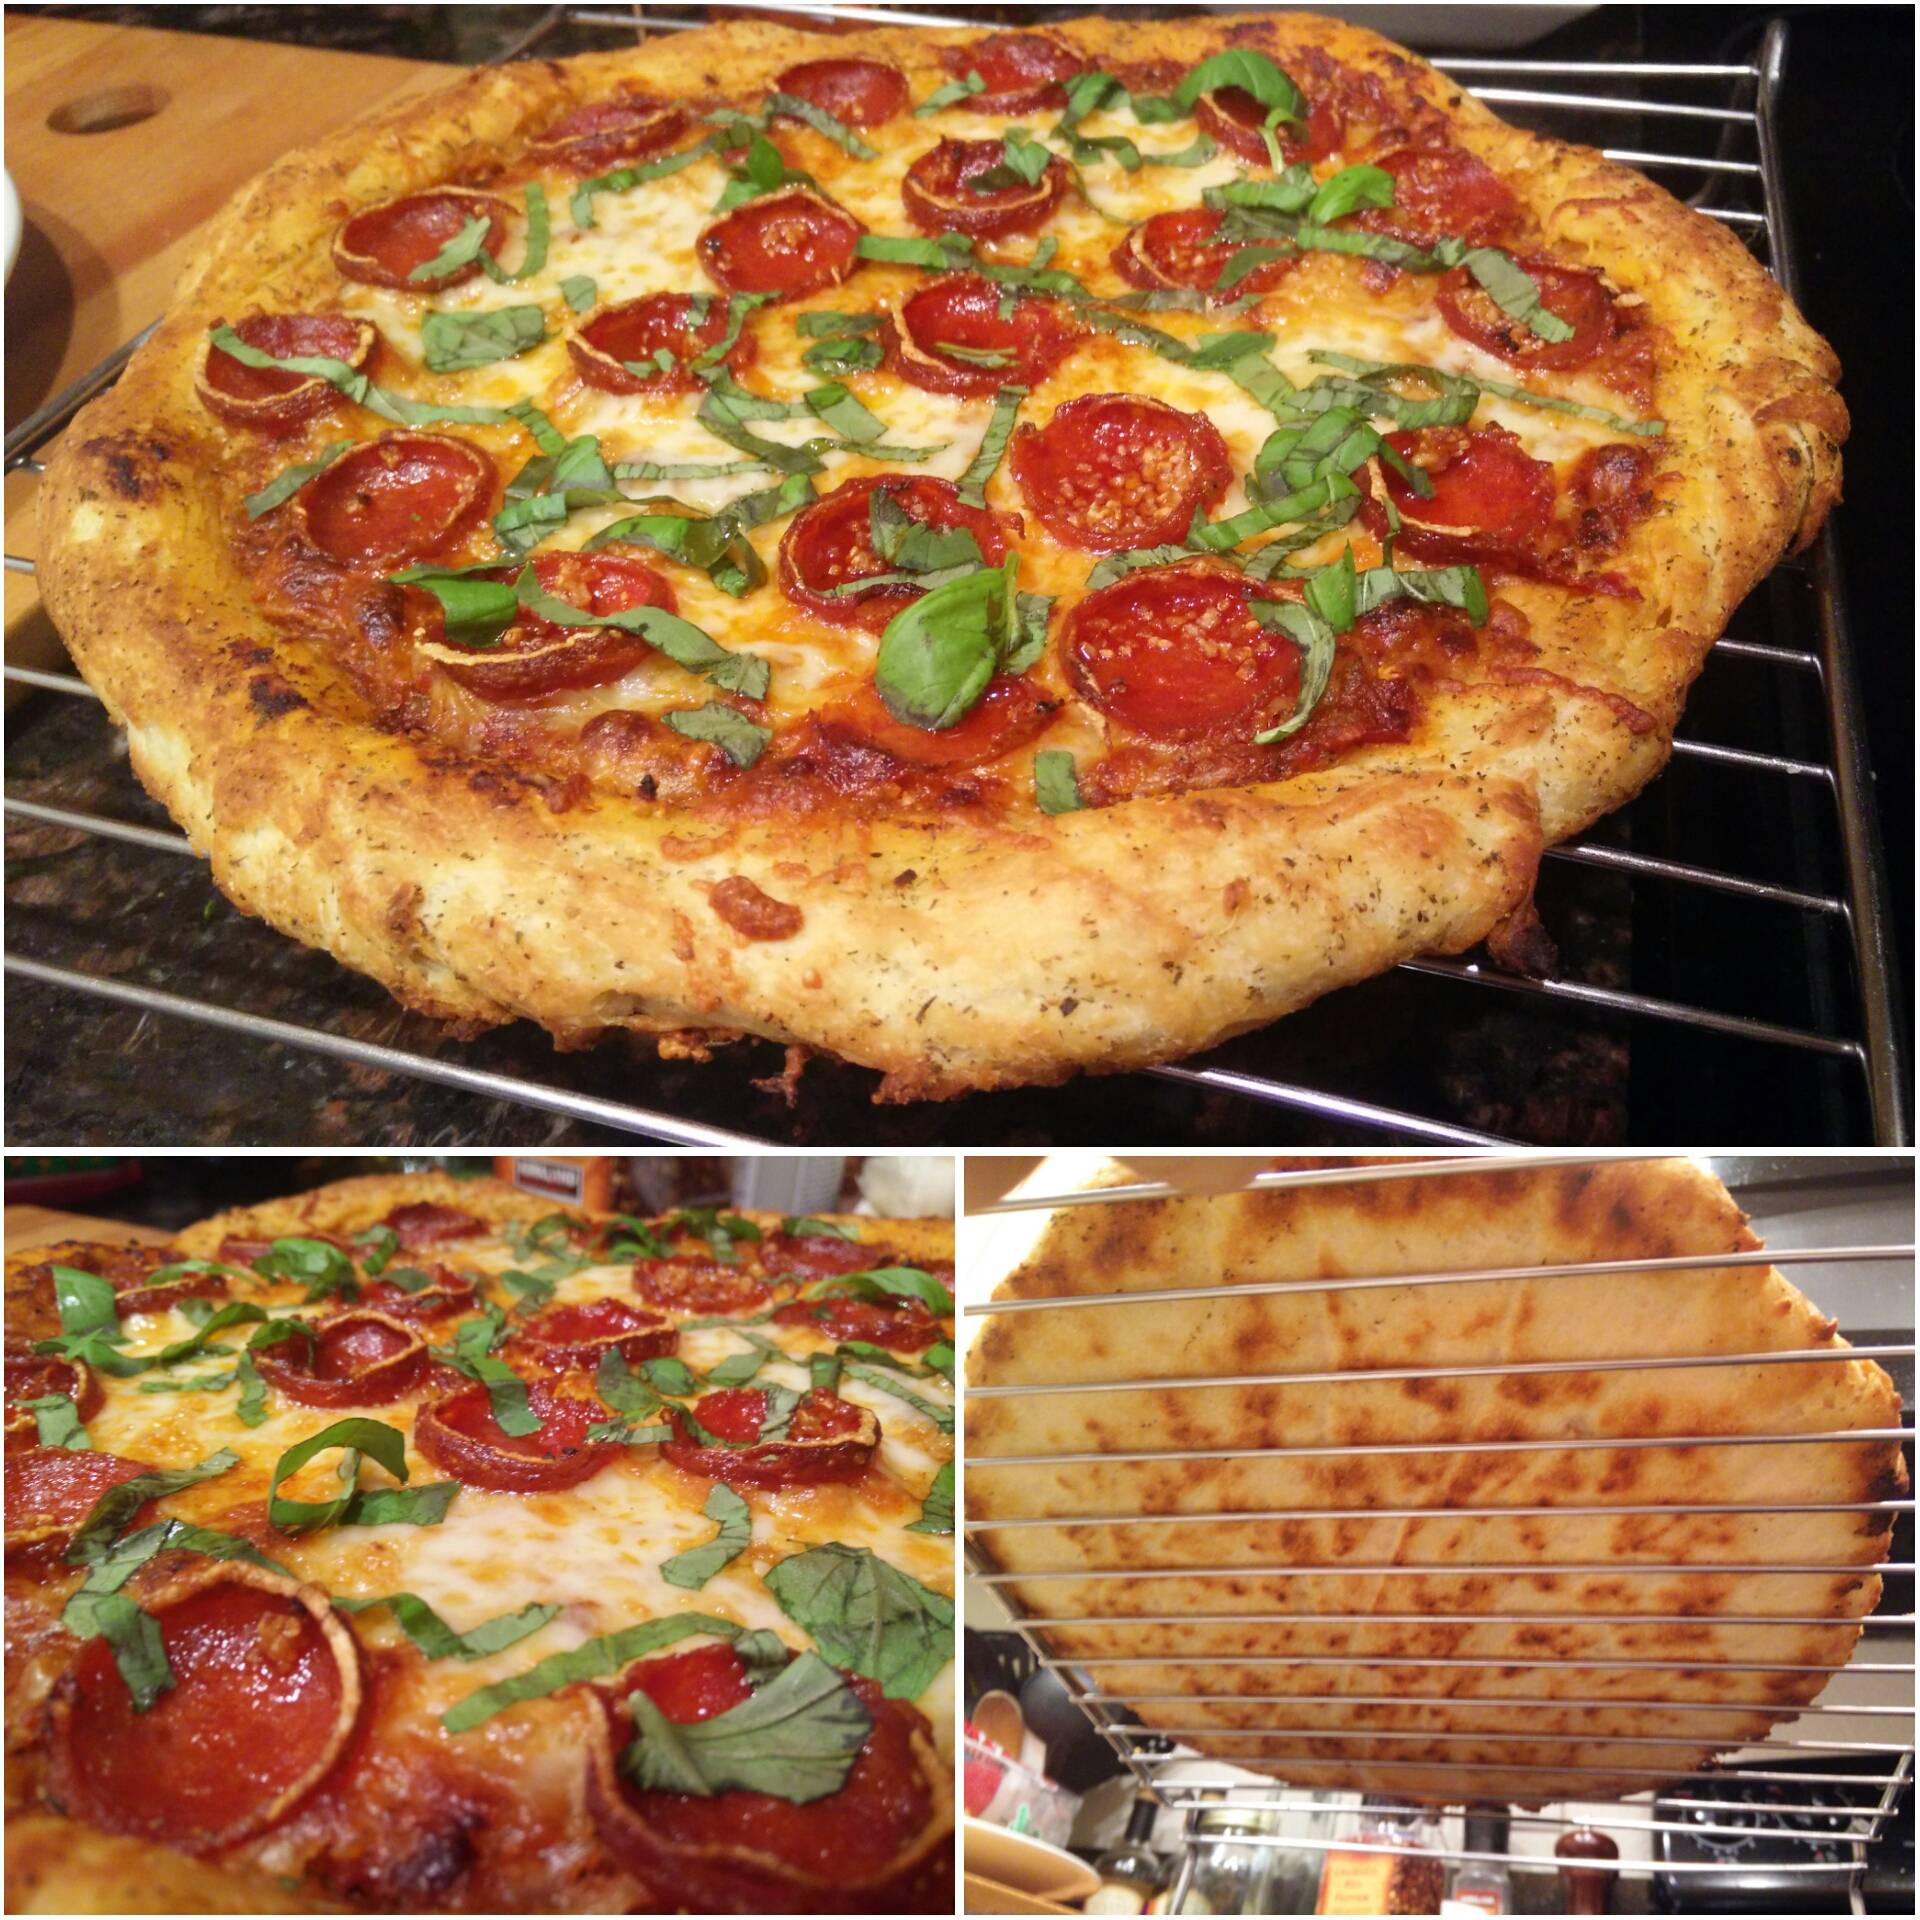
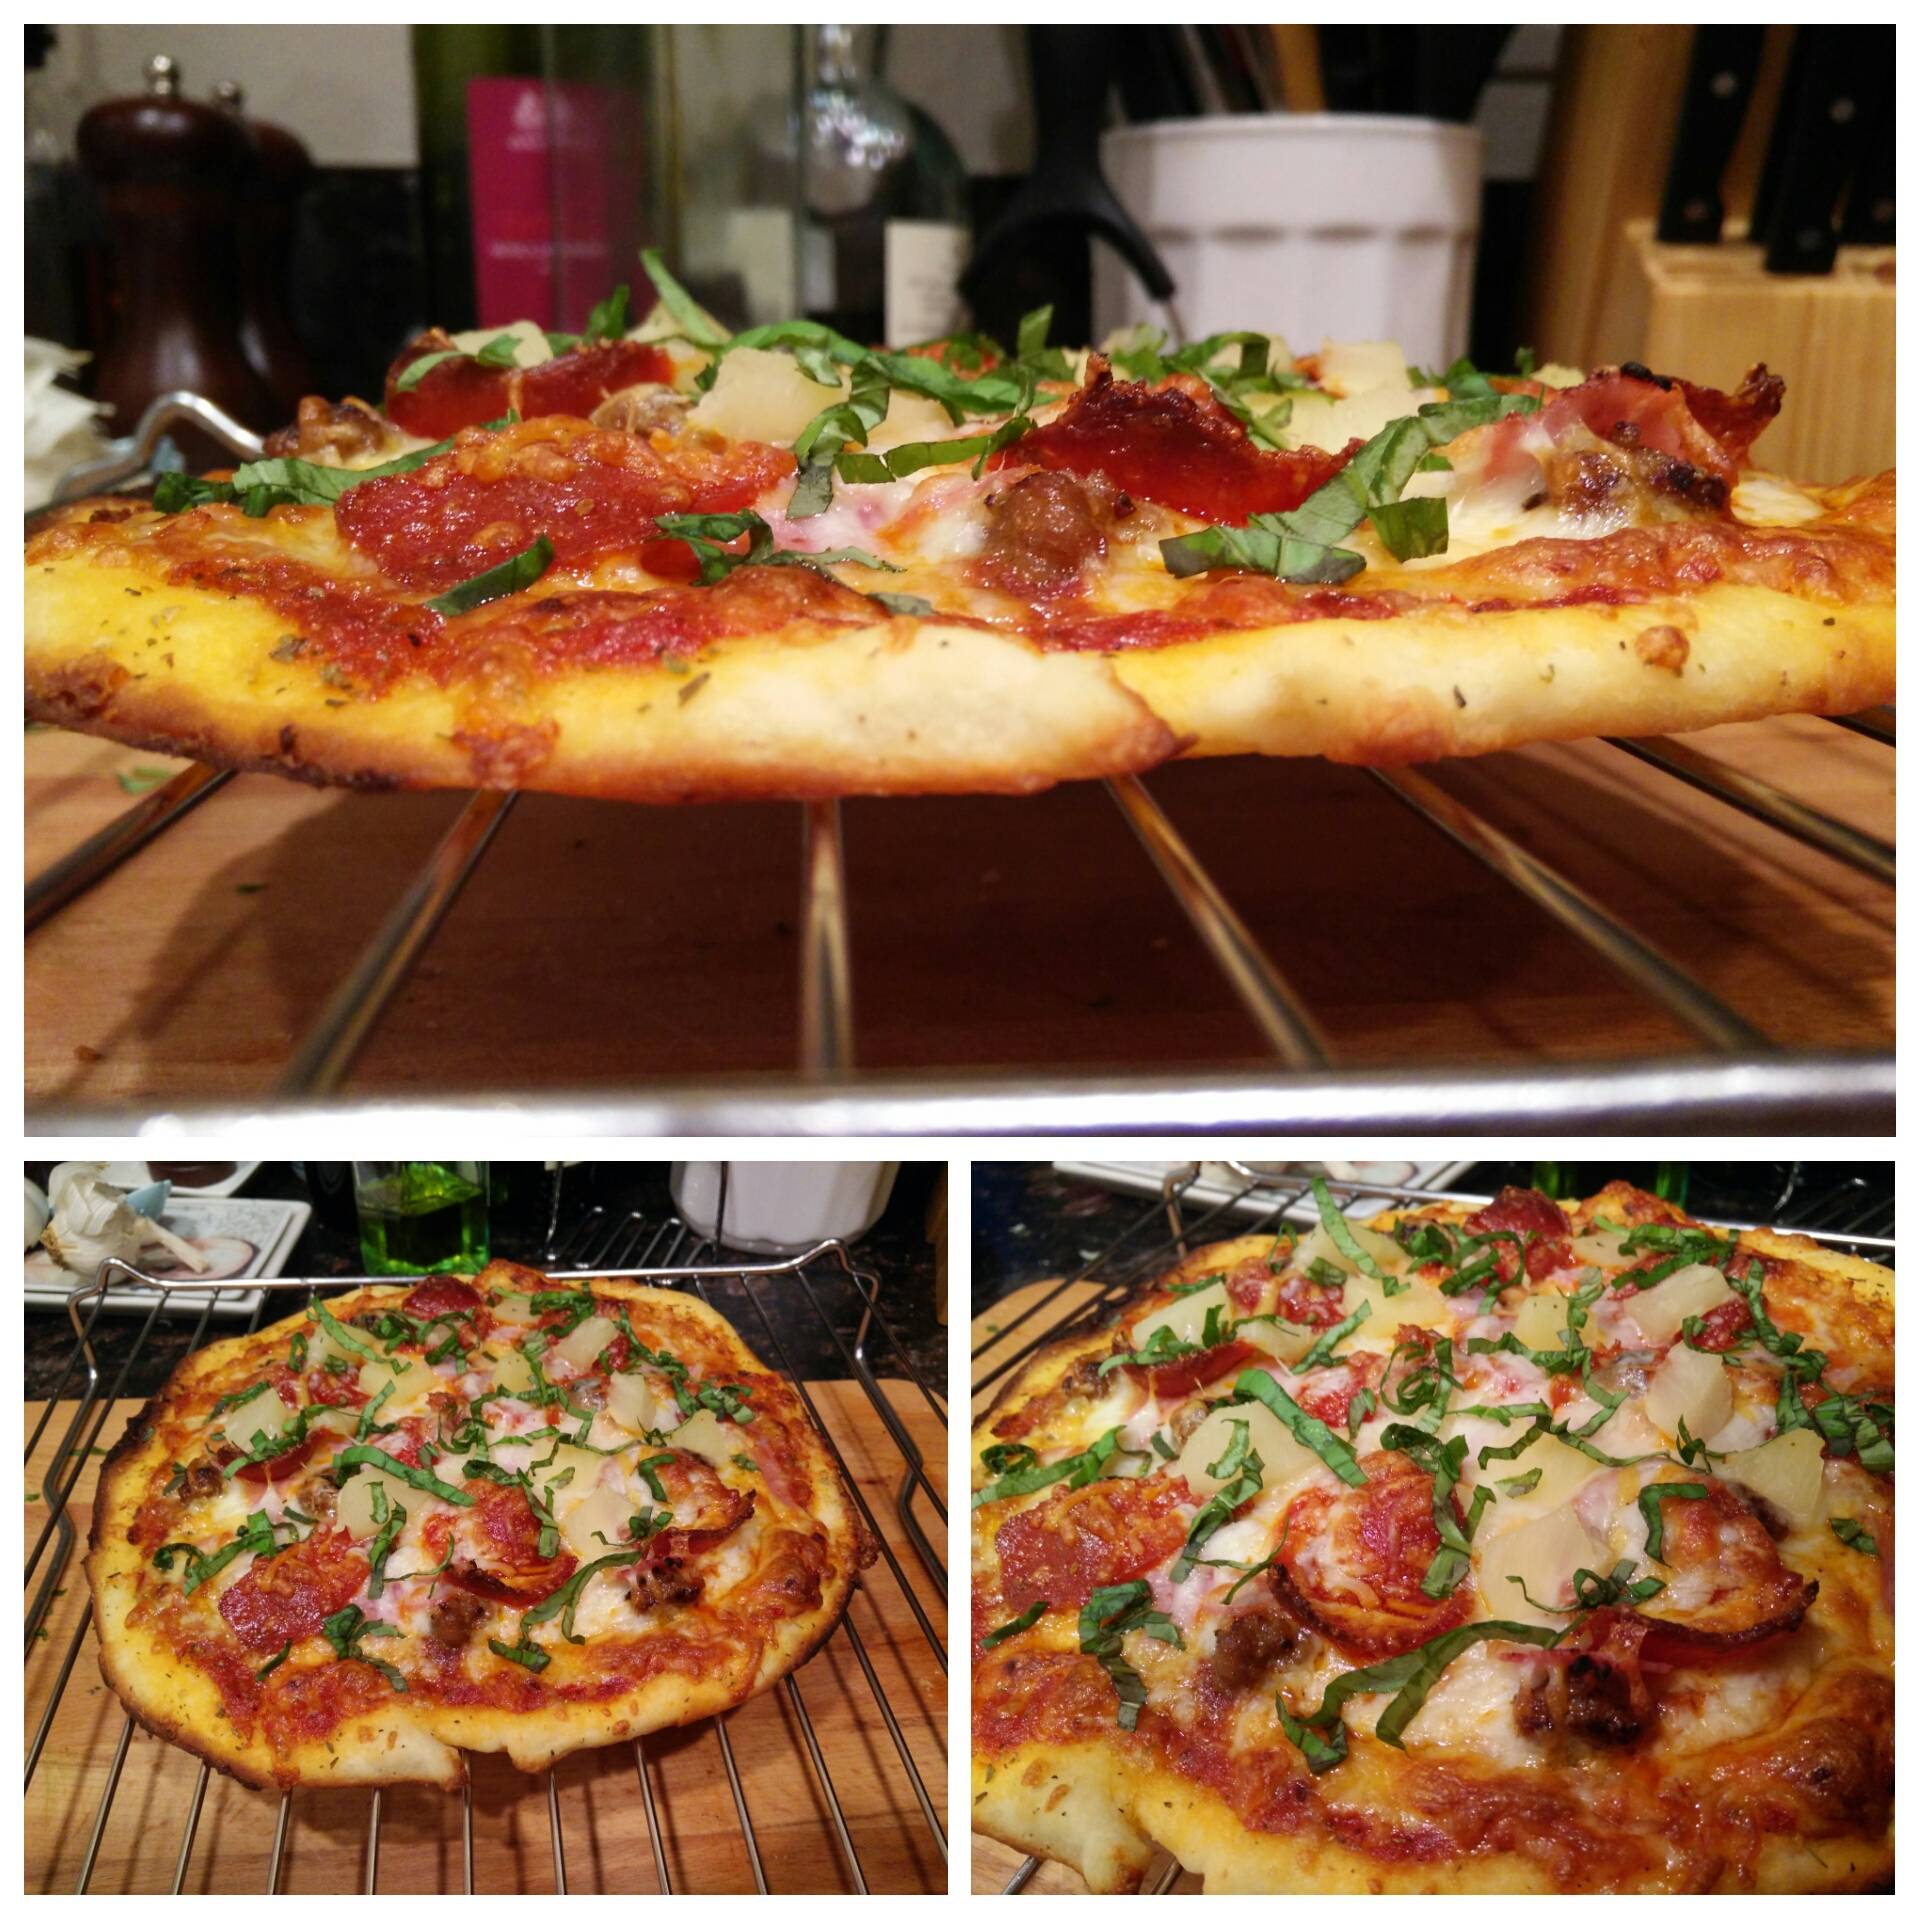
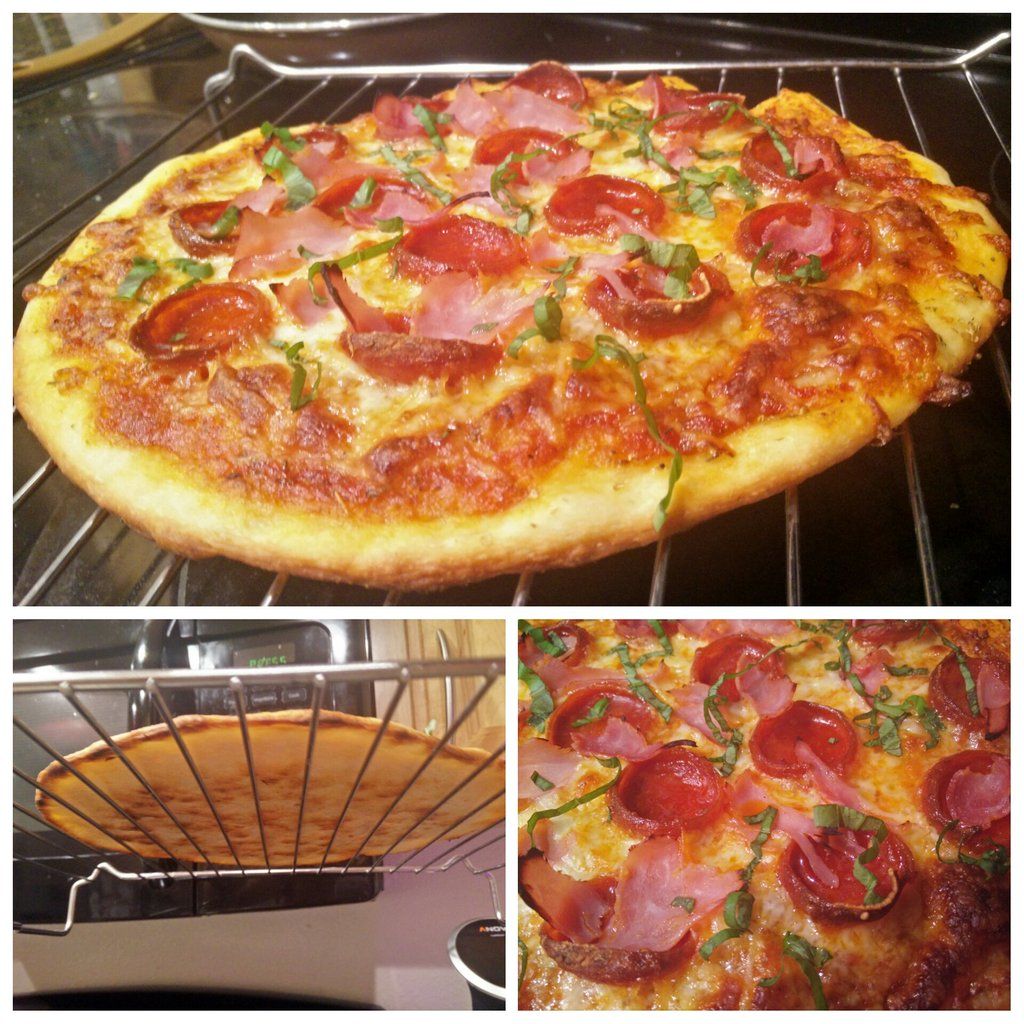
Some pizzas that were made using this method:
A Better Method
While the cheat method worked for me and I achieved consistent results, it became a pretty big headache when I wanted to make more than one pizza at a time. It simply wasn't a fast enough solution, plus I felt that it wasn't perfect still, as I didn't have that nice crust at the edges of the pizza.
I kept trying to figure out how to better shape my pizzas. After I switched to Antimo Caputo 00 Chef's Flour, I did notice that my dough had become easier to handle without the use of the parchment paper. But the biggest help came from this video of Tony Gemignani going over the basics fundamentals of pizza dough. He explained it very well, and I was able to pick it up very quickly.
Getting the Pizza in the Oven
Now that your pizza dough is shaped out, you're going to want to either place it on a lightly floured pizza peel or a lightly oiled pizza screen before you start topping it. You want to do this before you start topping it as you will have a very hard time, and possibly a disaster when transferring it with toppings on it.
The Pizza Peel
The pizza peel is that large paddle you often see at pizzerias that they use to toss the pizza into the oven and retrieve it. There are both wood and aluminum versions, each has their own advantages. The wood one can be floured easily but is thicker, while the aluminum ones are more difficult to four but can be paper thin.
Once you get your shaped dough onto your floured peel, give it a few shakes to make sure your pizza isn't sticking anywhere. If your pizza sticks when you try to slide it into the oven it's going to cause a very annoying mess to clean up. If your pizza is sticking in some spots, get some flour or cornmeal under it and then do the shake test again.
Many will suggest using cornmeal as your floured surface on the peel to get the dough to slide off the peel easier. Just keep in mind that cornmeal can be incredibly messy, especially on an aluminum peel.
Once your pizza is on the peel, topped, and not sticking anywhere you're ready to get it into the oven. Open your oven and place the peel on the back of the baking stone/steel. Now with one fluid motion, jolt the peel forward a bit and then pull it back toward you. Don't be too hard with it though, the idea is you want the pizza to slide off onto the center of the stone or steel. To get the pizza out of the oven, simply slide the peel under the pizza, lift it up toward you very slightly and pull it out slowly.
The pizza peel method will take some practice to get the hang of it. But don't get discouraged if you fail a few times, just keep trying.
The Pizza Screen
Using pizza screens is another great method for getting your pizzas in the oven. They also add some extra little benefits that you might enjoy. Pizza screens are thin perforated metal disks that you can place your pizza dough on top of. You may notice them used in pizzerias that have the commercial pizza ovens with a conveyor belt system.
I tend to use pizza screens when I make my pizzas as they allow me to get a perfect shape and make it easier to get the pizza into the oven. What I do is very lightly oil the surface of the screen and place my dough on top of it. I will then top my pizza and then slide the entire screen onto a peel and slide it into the oven on top of my baking steel.
The screen acts as a small barrier between the baking steel and dough, slowing down the cook time a bit, but preventing the pizza from burning in certain areas. Typically I'll also rotate the screen, with the pizza on it, 180° when I start to see the crust browning. This is to make sure the crust toward the back of the oven doesn't burn.
To remove your pizza, simply slide the peel between your pizza and the screen and pull it out. You can also remove the entire screen with the pizza on it, and then remove your pizza from it once out of the oven.
One of the extra little benefits of using a pizza screen is that it'll give the bottom of your crust a nice textured pattern as well as make it nice a crispy due to the air between the baking stone/steel and pizza.

Helpful Tips
-
Take a fork or docker to the shaped dough before saucing it. This creates small vents in the dough to prevent it from blistering and rising in large uneven pockets during baking.
-
Always make an extra dough ball just in case you make a mistake. This way you always have a backup. If you don't make a mistake, then hey no worries, extra pizza.
-
Don't stress out when it comes time to shape your dough. Try to be very calm and relaxed.
-
Flour the surface you are working the dough on to prevent sticking.
-
Flour your hands when working with the dough so that it doesn't stick to you.
-
Cornmeal can be very messy, be prepared for a mess when learning with cornmeal.
-
Always let your dough ball come up to room temperature before shaping it.
-
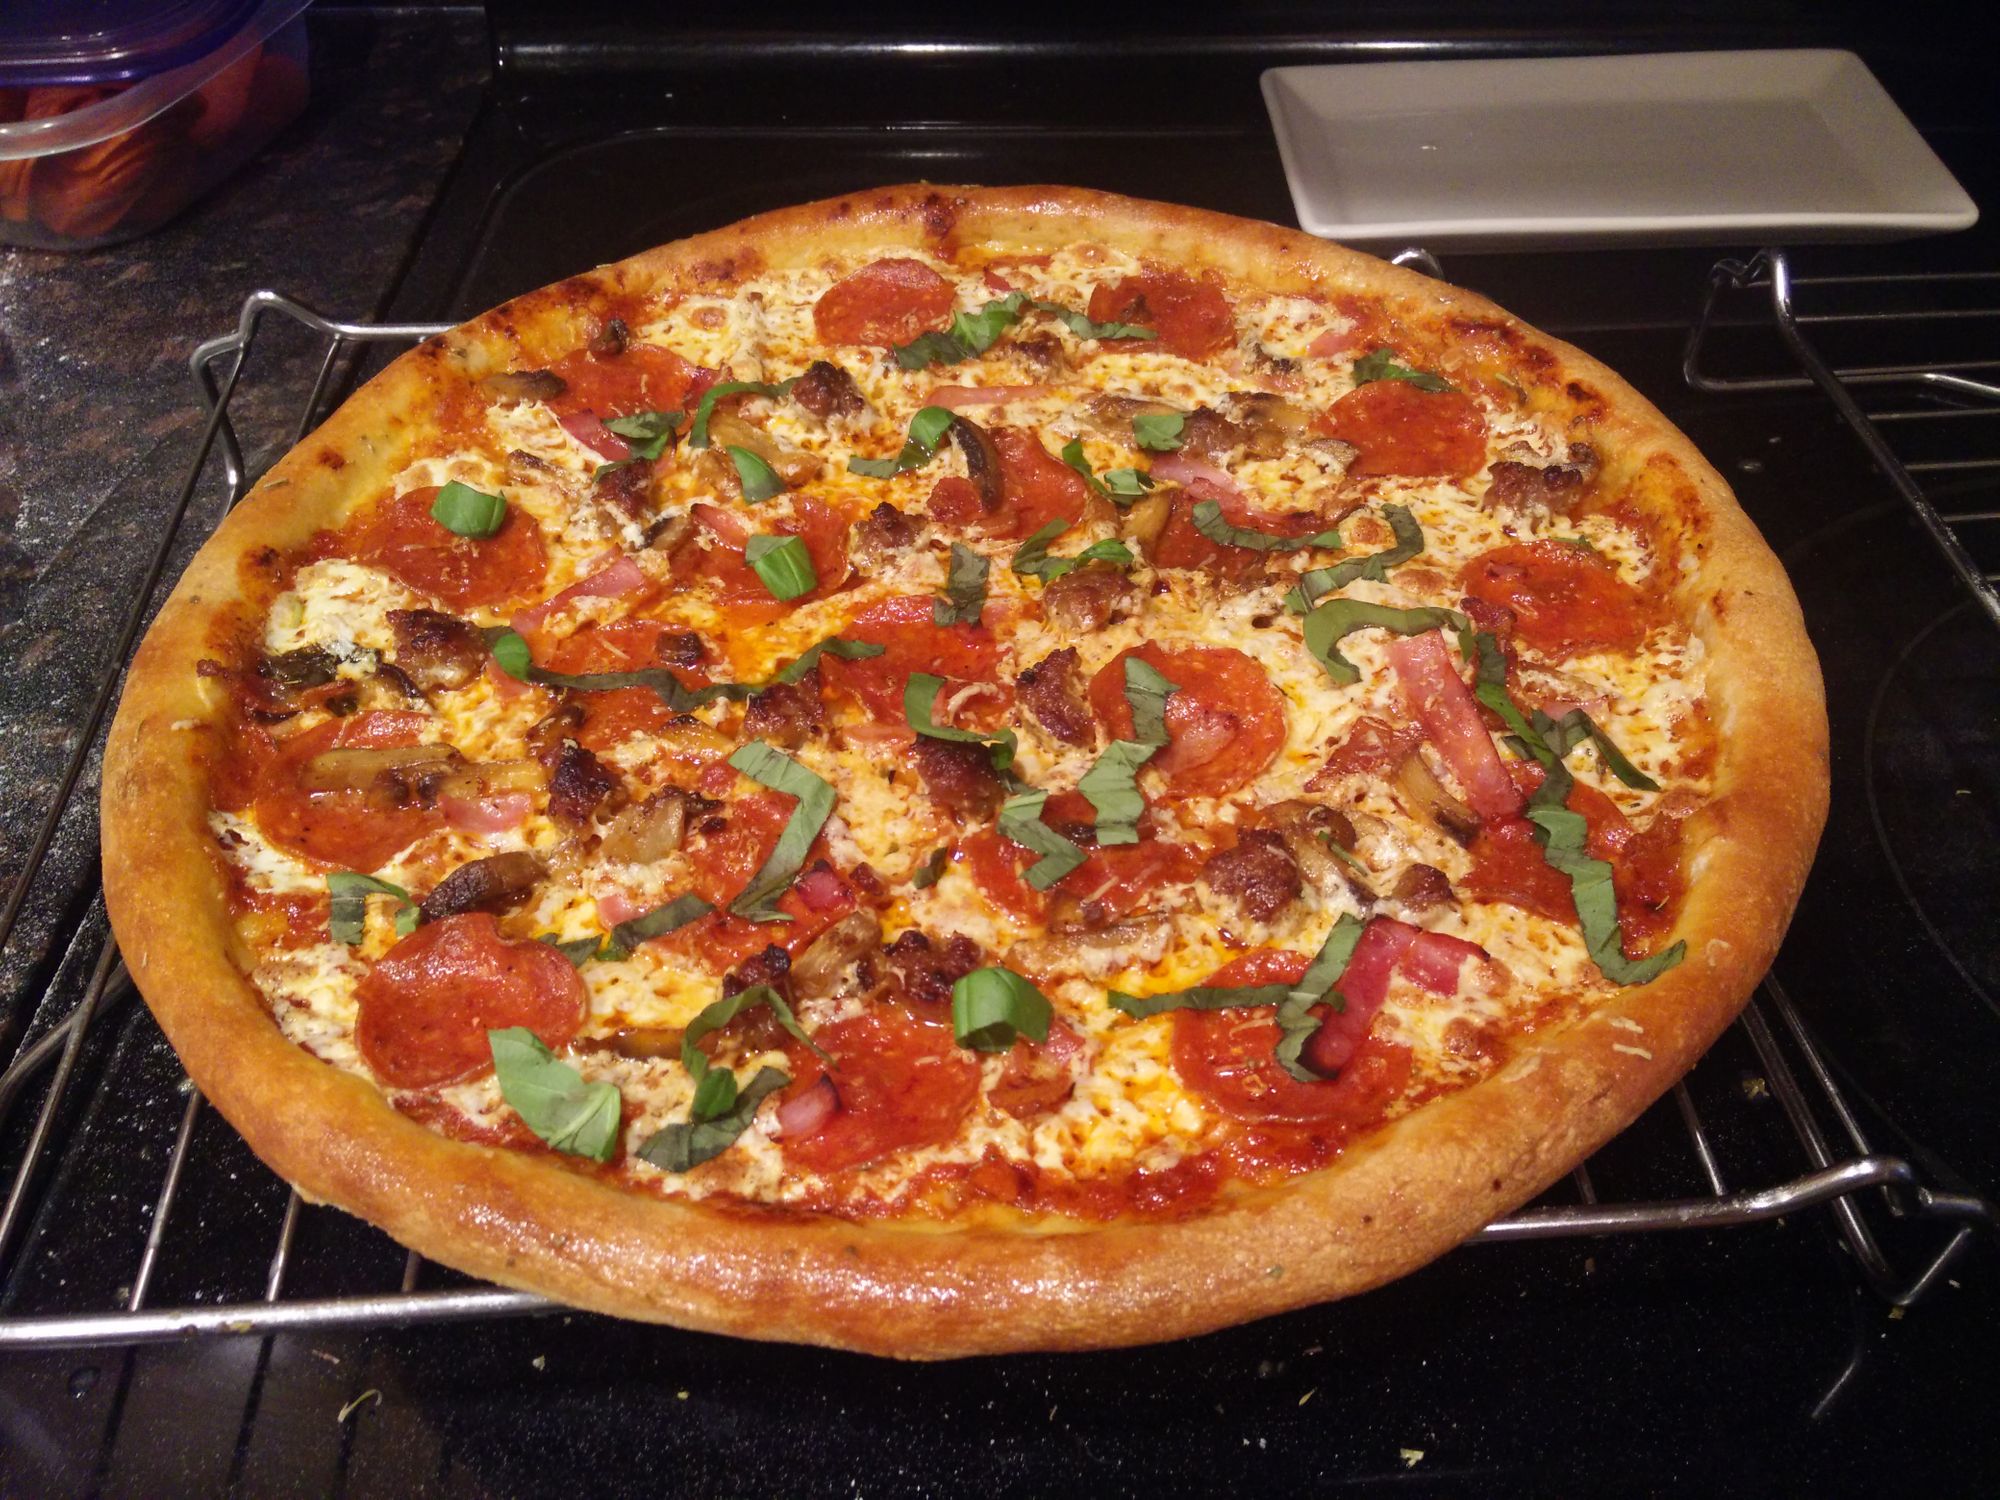
After cooking, let your pizza cool down a little bit on a cooling rack before cutting it.
-
It's just flour, don't worry about making a mess, you can clean it up when the pizza is baking.
-
Rotate your pizza 180° halfway through the baking process to prevent the part closest to the back of the oven from burning.
Pizza Making Adventure
This post is part of a series of posts I will be making regarding my entire process and journey of pizza making. From the dough to the sauce, to the cheese, to the topping choices. I'll cover everything I've learned so far.
My goal with these articles about my Pizza Making Adventures is to help my fellow pizza lovers also create amazing pizzas at home. Anyone is capable of doing this, it just takes a little patience, determination and above all: an absolute love for pizza.
Resources
- Tony Gemignani | Chefs at Google
- The Pizza Lab: How Long Should I Let My Dough Cold Ferment?
- The Pizza Lab: On Flour Types, Foams, and Dough
- The Pizza Lab: The Baking Steel Delivers
- The Artisan: Flour
- Pizza Making: Dough Ingredients
- Pizza Making: Baker's Yeast Quantity Prediction Model
- The Elements of Pizza
- The Pizza Bible
